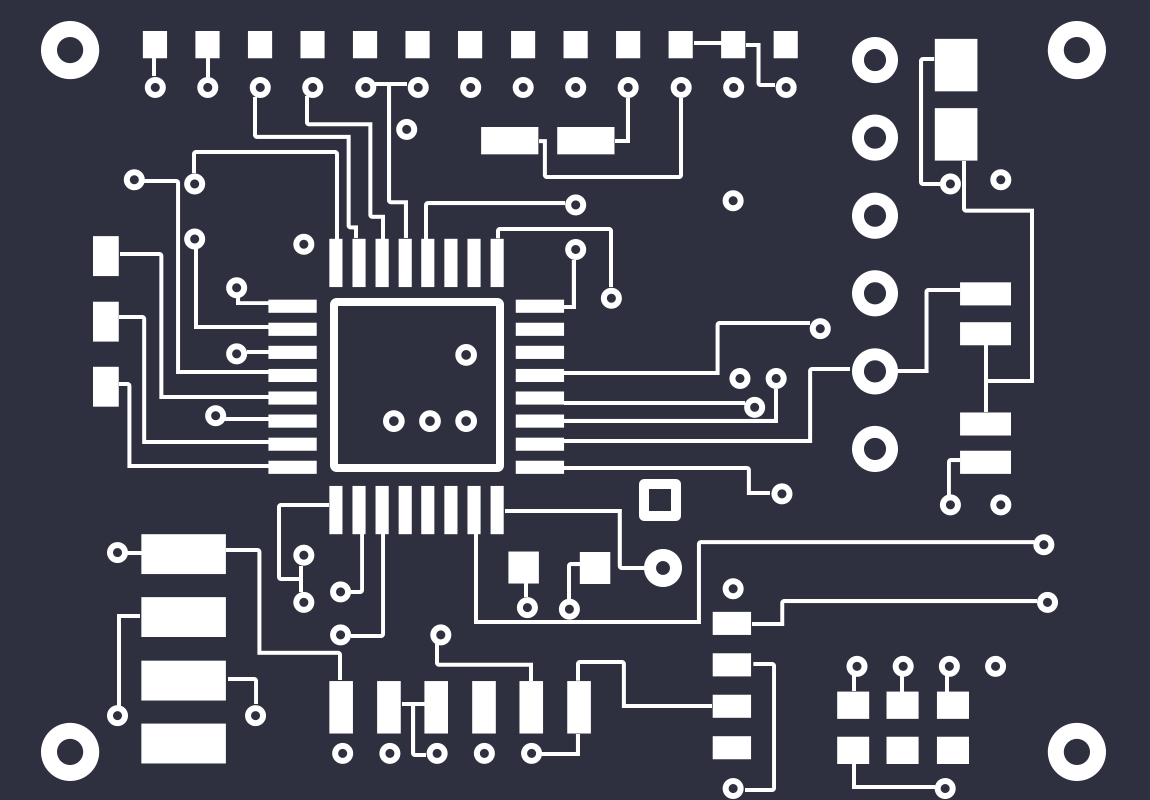
# Project History
The V1.0 of ejtag was made by netizen FlyGoat. After improvement by netizen Binggee, v1.1 was released. It is said that it supports Loongson 1B, Loongson 1C300B and Loongson 2K1000. It can be used to burn the bin file of Loongson CPU and can be debugged in one step. There is an FPGA on this ejtag, and the EJTAG itself also requires a program to run. The EJTAG itself program (also called firmware) is in my gitee https://gitee.com/caogos/loongson_ejtag
# Problems encountered when welding EJTAG and troubleshooting methods #
----
## Recommended welding sequence
1. Power supply 3.3V
2. Power supply 1.2V
3. 24MHz crystal oscillator
4. microUSB
5. CY7C68013A
6. 24C64
7. EP2C5T144C8N
8. 25Q40
9. EJTAG interface
## Possible problems
- After soldering steps 1 to 4, measure each VCC Is there a short circuit with GND? If a short circuit occurs, please check:
whether the power chip and capacitor are intact, replace the damaged device as appropriate;
whether there is adhesion on the adjacent pad, re-solder the adhering pad;
**Be sure to pay attention to the tantalum capacitor Polarity, the side with the horizontal strip is the positive pole**;
- After the 5th step of soldering, please use the firmware burner to burn the 24c64 firmware in advance, and then proceed to the 6th step;
- After the 6th step of the soldering, you can Connect the circuit board to the computer via USB and check if there is a USB device with a VID:PID of 2961:6688;
if there is no device with this VID:PID, please check:
whether the microUSB socket welding is reliable;
the reset circuit of CY7C68013A and its peripheral circuits Whether the welding is complete;
whether the peripheral circuit of 24C64 is welded completely;
whether the firmware of 24C64 is burned correctly;
- After the 8th step of welding, the pof firmware can be downloaded to 25Q40 through the AS interface. Before downloading, please check whether the peripheral circuit of FPGA is welded Complete;
- After all circuit welding is completed, operate according to the ./doc/ejtag1.pdf file in the official debugging software directory;
- After executing
```shell
jtagled 1
```
, the LED does not light up according to the instructions, please check :
Is the LED welding correct?
Is the connection between the fpga and CY7C68013A defective?
- After executing
``shell
jtagregs d8 1 1
``
, the terminal is stuck or the id cannot be read, please check:
fpga pin Whether there is a weak solder;
whether the FPGA firmware is downloaded correctly;
whether the debugger and the circuit of the chip being debugged are connected correctly;
whether the circuit of the chip being debugged is powered;

