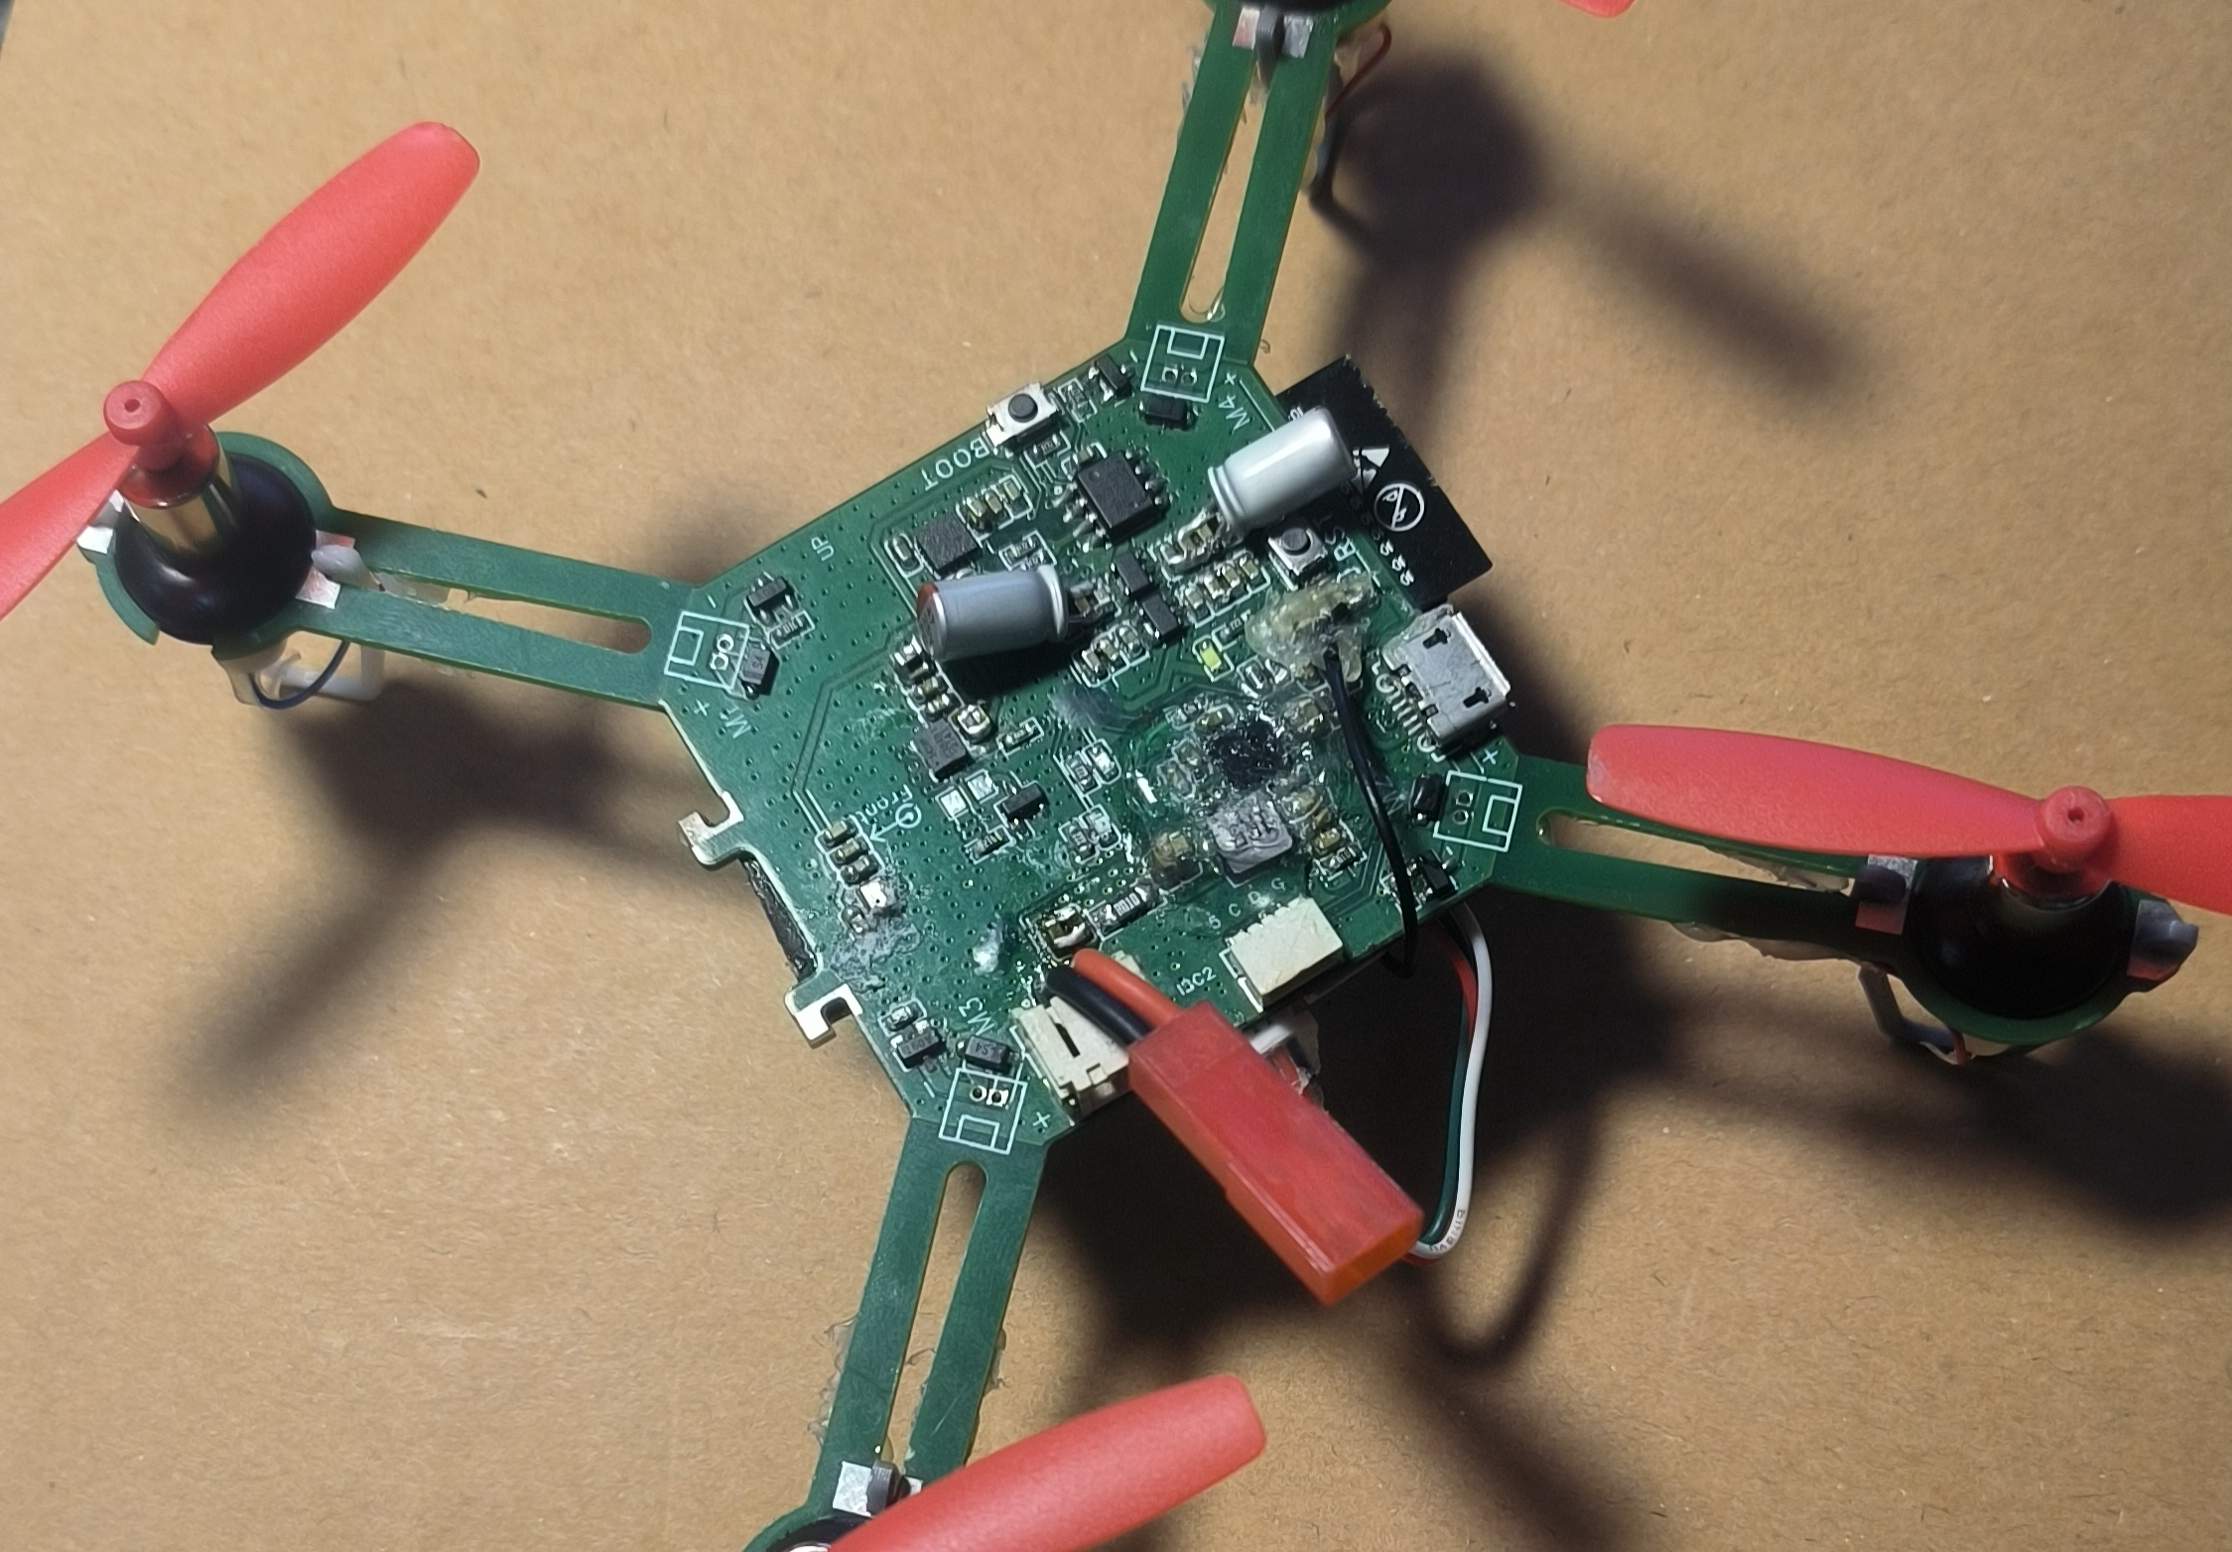
This is a small drone based on PX4 firmware using the ESP32S3. The hardware design comes from https://github.com/espressif/esp-drone, and the firmware will be released at https://github.com/w2016561536/PX4-Autopilot/tree/px4_esp32s3. Hovering, automatic landing, and some manually controlled flights have been tested.
Precautions:
1. Do not arbitrarily increase the cycle frequency; the ESP32S3 has limited capabilities.
2. Someone must supervise the charging process!!! This is crucial! Someone must supervise the process!!! Remove any flammable materials nearby. The charging circuit has not undergone rigorous testing, and its stability cannot be guaranteed (especially for DIY projects).
3. Non-professionals should not connect the 0-ohm resistor next to IP5109 (this indicates a hardware problem), otherwise it may cause timing errors or even sensor damage!!
7. If the external sensor is powered by 3.3V, it is recommended to use a jumper wire from the capacitor near the ESP32S3, not from the SENSOR_3V3.
5. Due to insufficient space for a 5.1K resistor, C-to-C data cables are not supported.
6. Please abide by laws and regulations during flight and do not fly beyond visual line of sight.
7. Configured Wi-Fi SSID: MY_PX4 Password: 12345678
8. In the motor configuration, remember to change the output mode to oneshot, set the throttle disarm value to 0, the minimum value to 100, and the maximum value to 2000-2100; otherwise, the motor will restart upon pushing the throttle.
9. If severe IMU drift occurs, please reinsert the battery without connecting it to the USB power supply (the reason is BOOST ripple noise during takeoff).
10. I am using a 720 motor with a protective coil for fixation. An 8250 motor can be used, but a custom fixture design is required.
11. For optical flow, refer to https://item.taobao.com/item.htm?abbucket=6&id=660420384217&ns=1&spm=a21n57.1.0.0.f58f523cFcFVbE&sku_properties=1627207:21549958229. The protocol must be the same. DIY is possible. The corresponding driver is flow3953. The SENS_NKFLOW_CFG parameter controls the port used.
12. The bracket can be the one included in PCB1 (you need to cut it yourself) or 3D printed (see attached STL model).
13. If you need to use a joystick or virtual controller for flight in QGC instead of a remote controller, you still need to set the relevant parameters for the remote controller; otherwise, unlocking will be refused.
14. The aircraft supports SBUS remote control. To use it, connect the SBUS cable to UART2 RX and modify RC_PORT_CONFIG to Radio Controller and UART2_RX_INV to Enable in the parameter table.
15. The charging current of the IP5109 is configurable; the parameter is BAT_CHG_CURRENT, in milliamperes (mA).
16. Program Flashing: Go to the firmware release page: https://github.com/w2016561536/PX4-Autopilot/releases, download bootloader.bin, partition-table.bin, and px4_esp32s3_default.bin from the latest release. Then download the Espressif flashing tool: https://www.espressif.com.cn/sites/default/files/tools/flash_download_tool_3.9.5_0.zip. Place all files in a folder (the path cannot contain Chinese characters). Then, hold down Shift, right-click in the folder, and open PowerShell. Connect the device to the flight controller using a USB cable and execute `esptool.exe -p write_flash 0x0 bootloader.bin 0x10000 px4_esp32s3_default.bin 0x8000 partition-table.bin`. Replace `partition-table.bin` with the flight controller's serial port number. Press Enter and wait for the flashing process to complete.
17. If the PCB1 reviewer approves the panelization, proceed to PCB1_1. The only difference is that PCB1_1 lacks a stand, requiring you to make your own (e.g., 3D printing; STL is attached).
18. PCB2 is a self-made serial port tool, easily connecting to the aircraft's serial port; make as needed.
Current issues:
1. PX4 cannot read IP5109 voltage data via the I2C bus due to power-on timing (TLV75733 output is later than IP5109's pin mode judgment). The solution is to use jumper wires (allowing IP5109 to exclusively use I2C2, and modifying the pull-up power supply from IP5109's built-in LDO).
2. I2C2 is currently disabled; it may be used by IP5109 later if needed.
3. Some functions are not implemented: IMU heating, indicator lights (except for power indicator). Therefore, components for IMU heating, colored indicator lights, and I2C2 sockets do not need to be purchased.
3. Unable to use MTF optical flow (or other sensors using MAVLINK with very high feedback frequencies), it's too laggy. (I wrote a driver for optical flow based on VL53L1X and PMW3901 from Taobao, and it seems pretty good.)
4. USB is unstable due to buffer issues; therefore, the USB interface can only be used for programming and charging.


 京公网安备 11010802033920号

 CM106-L+


