Flexible Filament Night Light
Project Attributes
This project is being publicly disclosed for the first time and is my original work. This project has not won any awards in other competitions.
Table of Contents
1. Project Description
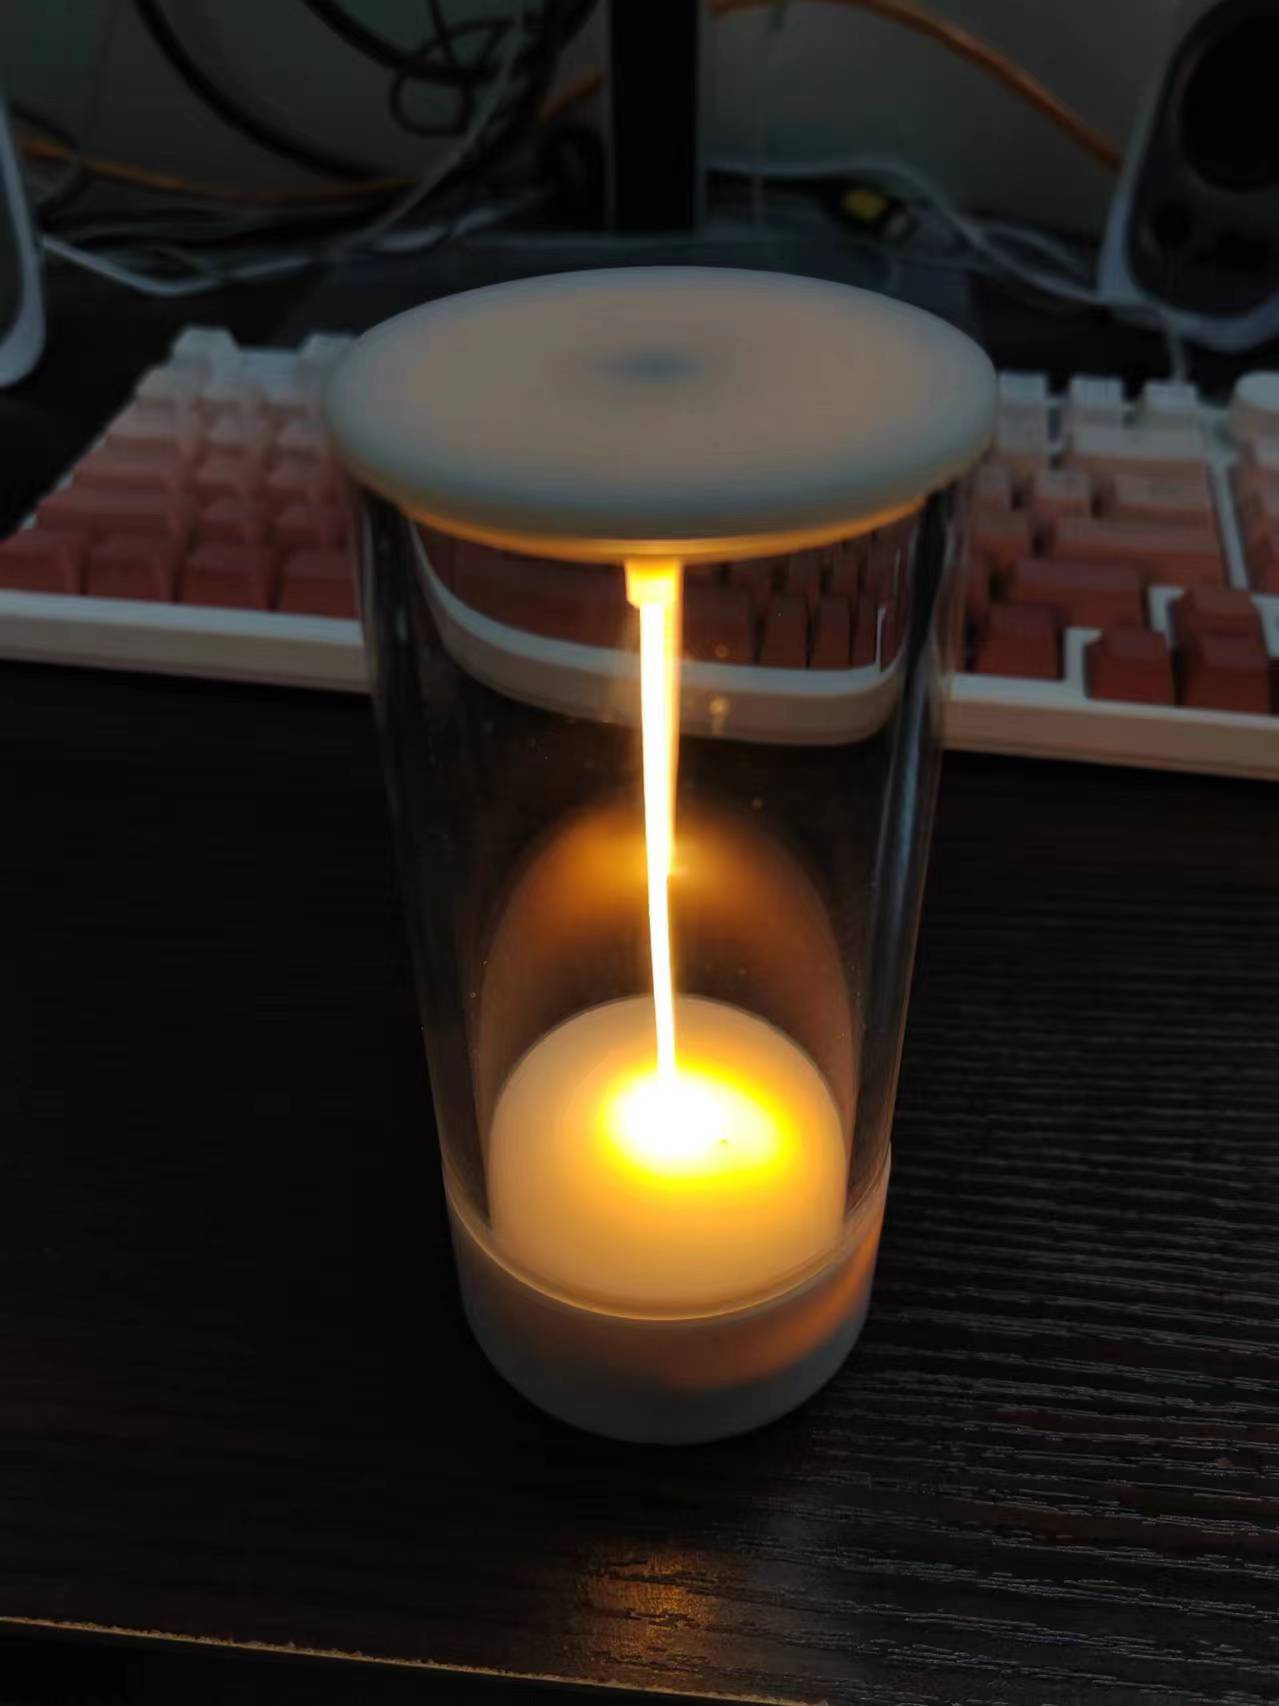
1.1 Project Introduction 1.2
Project Functions 1.3 Physical Images 2. Hardware Description 2.1 Hardware Functions 2.2 Hardware Diagrams 2.3 Pin Definitions 3. Software Description 3.1 Power-On Flowchart 3.2 Simple Code Explanation 3.2.1 File Description 3.2.2 esp32_code.py Explanation 3.3 Simple Data Processing with MPU6050 4. Design Considerations 4.1 BOM 4.2 Assembly 4.3 Software Programming 4.4 User Manual 4.5 Others 1. Project Description 1.1 Project Introduction This is a night light with a flexible filament light source and an ESP32 microcontroller as the main controller. 1.2 Project Functions 1) Button to switch between breathing light and constant light modes; 2) In constant light mode, turning the night light clockwise increases brightness, and turning it counterclockwise decreases brightness; 3) Monitors battery voltage, turns on the LED indicator when low battery, controls the ESP32 to sleep, and turns off the filament; 4) Connects to WIFI, allowing users to view battery level, control brightness, and switch between breathing light and constant light modes via a webpage. Web Interface 1.3 Physical Image See the demonstration video for specific functions 2. Hardware Description 2.1 Hardware Functions 1) Type-C interface, including USB to TTL, ESD protection, and overcurrent protection; 2) Power management, including DC-DC converter, battery voltage monitoring, lithium battery charging circuit, and charging current distribution; 3) ESP32 main controller, including automatic download circuit; 4) MPU6050 accelerometer sensor; 5) Flexible filament, controlled by a MOSFET; 6) One custom button and one LED. 2.2 Hardware Diagram 2.3 Pin Definitions MPU6050: SCL=GPIO22, SDA=GPIO23; Flexible Filament: GPIO4; Button: GPIO25; LED Indicator: GPIO32; Voltage Monitoring (ADC): GPIO35. 3. Software Description 3.1 Power-On Flowchart 3.2 Brief Code Description 3.2.1 File Description The code is written in Micropython and includes three files: boot.py, esp32_code.py, and microWebSrv.py. The esp32_code.py and microWebSrv.py files can be generated by the mpy-cross toolchain to speed up execution. Micropython executes boot.py by default upon power-on. microWebSrv.py is a web server; see: https://github.com/jczic/MicroWebSrv/. esp32_code.py is the main program of the project. 3.2.2 esp32_code.py Description: In the adjustable settings code, the buttons are controlled by a button interrupt, and the MPU6050 data reading, breathing light flashing, and battery voltage monitoring are controlled by a Timer. The code mainly consists of the MPU6050 class, the Power class, various callback functions, and interrupt functions, which are easy to understand. 3.3 Simple MPU6050 Data Processing: The angular acceleration in the Z direction shown in the figure is the required data. The Z-direction angular acceleration can be used to determine whether the night light has been twisted. In the code, the Timer reads five sets of Z-direction angular accelerations of the MPU6050 every 100ms and takes the average value (takes 4ms). The obtained data is shown in the figure. The code uses the simplest processing method: if the brightness is not adjusted within 0.3 seconds, and the acceleration value exceeds the limit (e.g., 2000), the brightness is adjusted according to the positive or negative value of the acceleration. The test results are good. 4. Design Considerations 4.1 BOM 4.2 Assembly 1) Screw the countersunk magnet onto the top cover. 2) First, thread the filament through the bottom cover printed part (do this first!!!!), then fix it with the filament magnet, and fix the steel ball to the filament. 3) Cut the filament power wire to a suitable length. If possible, crimp an XH2.54 terminal or solder it to the pad. Pay attention to the positive and negative terminals. Attach the battery to the position shown in the picture. 5) Use copper pillars and screws to fix the PCB and the base. 6) Attach the top and bottom covers to the borosilicate glass tube. Done. 4.3 Software Burning First, use the Espressif flash_download_tool to burn the ESP32_GENERIC-20240222-v1.22.2 firmware. Then, use the MicroPython File Uploader tool to connect to the serial port and upload boot.py, esp32_code.mpy, and microWebSrv.mpy in sequence (both .py and .mpy files are acceptable, but .mpy files are smaller and run faster).


PS: Methods for generating Mpy files:
1) First, install the toolchain using `pip install mpy-cross`.
2) After navigating to the specified directory in cmd, execute `mpy-cross -march=xtensawin xxx.py`.
4.4 Usage Instructions:
You can adjust these lines in `esp32_code.py` to configure Wi-Fi, etc.
Press and hold the button while toggling the switch for 3-4 seconds to connect to Wi-Fi and enable the web service (the IP address can be viewed by connecting to the serial port or accessing the router's admin panel).
Simply toggling the switch will not enable the web service.
4.5 Other
: I am not an electronics or computer science major. The code and hardware only fulfill the required functions. Corrections are welcome, but please be gentle with your criticism!
I am not responsible for any accidents caused by replicating this project!


 京公网安备 11010802033920号

 5KP54A


