I. Explanation:
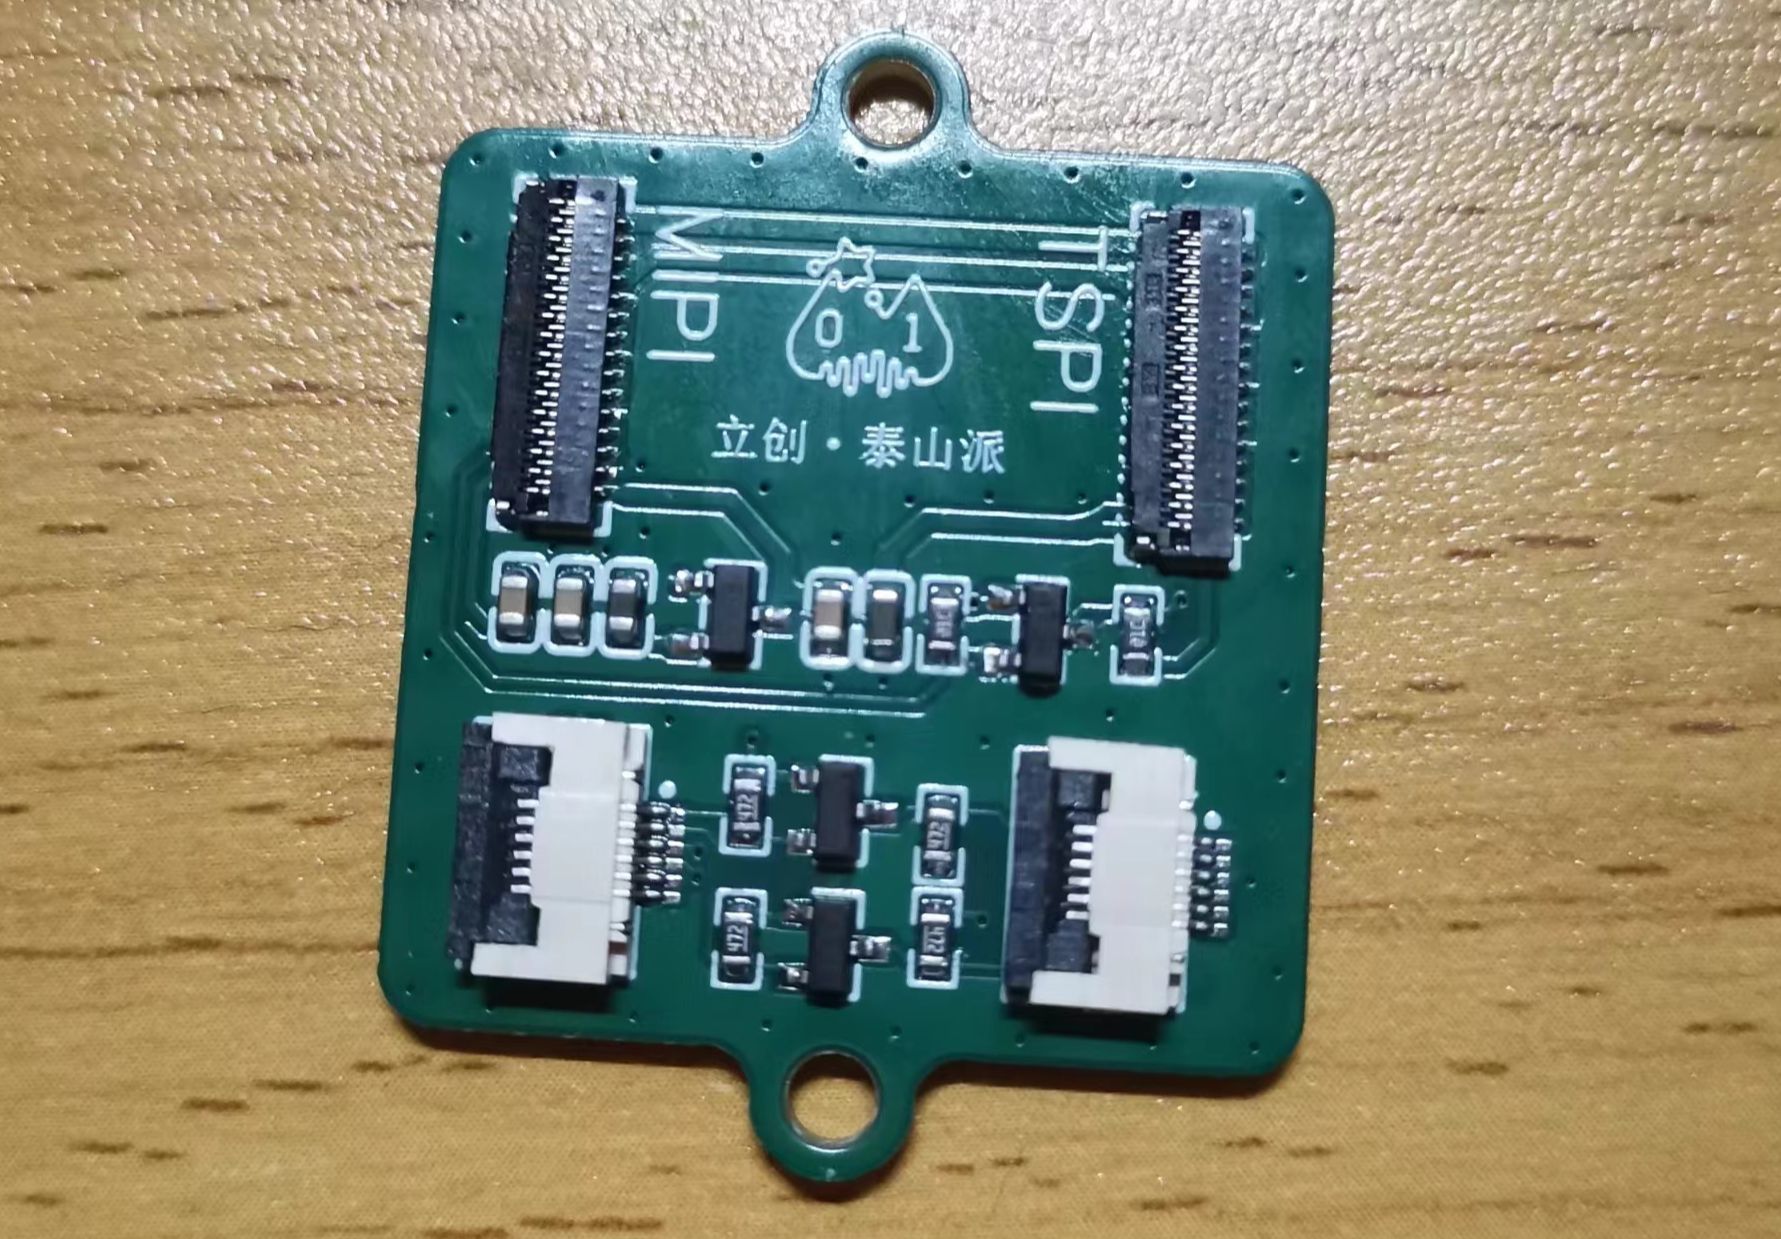
I have a 7-inch LicheeRV Nano MIPI screen purchased from Taobao. The seller refused to provide the datasheet, but it's not a major issue as their SDK has the screen parameters.
LicheeRV Nano SDK:
https://github.com/sipeed/LicheeRV-Nano-Build
II. Taishan Pi Device Tree :
1. tspi_android_sdkkernelarcharm64 ootdts
ockchip spi-rk3566-user-v10.dts
Comment out #include "tspi-rk3566-hdmi-v10.dtsi" and #include "tspi-rk3566-edp-v10.dtsi"
Keep #include "tspi-rk3566-dsi-v10.dtsi"
Add a touch node: &i2c1 { status = "okay"; gt9xx: gt9xx@14 { compatible = "goodix,gt9xx"; reg = ; tp-size = ; max-x = ; max-y = ; touch-gpio = ; reset-gpio = ; status = "okay"; };};
2. tspi_android_sdkkernelarcharm64 ootdts
ockchip spi-rk3566-dsi-v10.dtsi
Modify the corresponding nodes as follows:
&dsi1 {
status = "okay";
rockchip,lane-rate = ;//Modify
dsi1_panel: panel@0 {
status = "okay";
compatible = "simple-panel-dsi";
reset-gpios = ;
pinctrl-names = "default";
pinctrl-0 = ;
reg = ;
backlight = ;
reset-delay-ms = ;
enable-delay-ms = ;
prepare-delay-ms = ;
unprepare-delay-ms = ;
disable-delay-ms = ;
dsi,flags =
MIPI_DSI_MODE_LPM | MIPI_DSI_MODE_EOT_PACKET)>;
dsi,format = ;
dsi,lanes = ;
panel-init-sequence = [//Modify
15 00 02 B0 01
15 00 02 C3 4F
15 00 02 C4 40
15
00 02 C5 40 15 00 02 C6 40
15 00 02 C7 40
15 00 02 C8 4D
15 00 02 C9 52
15 00 02 CA 51
15 00 02 CD 5D
15 00 02 CE 5B
15 00 02 CF 4B
15 00 02 D0 49
15 00 02 D1 47
15 00 02 D2 45
15 00 02 D3 41
15 00 02 D7 50
15 00 02 D8 40
15 00 02 D9 40
15 00 02 DA 40
15 00 02 DB 40
15 00 02 DC 4E
15 00 02 DD 52
15 00 02 DE 51
15 00 02 E1 5E
15 00 02 E2 5C
15 00 02 E3 4C
15 00 02 E4 4A
15 00 02 E5 48
15 00 02 E6 46
15 00 02 E7 42
15 00 02 B0 03
15 00 02 BE 03
15 00 02 CC 44
15 00 02 C8 07
15 00 02 C9 05
15 00 02 CA 42
15 00 02 CD 3E
15 00 02 CF 60
15 00 02 D2 04
15 00 02 D3 04
15 00 02 D4 01
15 00 02 D5 00
15 00 02 D6 03
15 00 02 D7 04
15 00 02 D9 01
15 00 02 DB 01
15 00 02 E4 F0
15 00 02 E5 0A
15 00 02 B0 00
15 00 02 B1 08
15 00 02 BD 54
15 00 02 C2 06
15 00 02 C4 0B
15 00 02 B0 02
15 00 02 C0 00
15 00 02 C1 0A
15 00 02 C2 20
15 00 02 C3 24
15 00 02 C4 23
15 00 02 C5 29
15 00 02 C6 23
15 00 02 C7 1C
15 00 02 C8 19
15 00 02 C9 17
15 00 02 CA 17
15 00 02 CB 18
15 00 02 CC 1A
15 00 02 CD 1E 15 00
02 CE 20
15 00 02 CF 23
15 00 02 D0 07
15 00 02 D1 00
15 00 02 D2 00
15 00 02 D3 0A
15 00 02 D4 13
15 00 02 D5 1C
15 00 02 D6 1A
15 00 02 D7 13
15 00 02 D8 17
15 00 02 D9 1C
15 00 02 DA 19
15 00 02 DB 17
15 00 02 DC 17
15 00 02 DD 18
15 00 02 DE 1A
15 00 02 DF 1E
15 00 02 E0 20
15 00 02 E1 23
15 00 02 E2 07
05 78 01 11
05 14 01 29
];
panel-exit-sequence = [
05 00 01 28
05 00 01 10
];
disp_timings1: display-timings { // Modify
native-mode = ;
dsi1_timing0: timing0 {
clock-frequency = ;
hactive = ;
vactive = ;
hfront-porch = ;
hsync-len = ;
hback-porch = ;
vfront-porch = ;
vsync-len = ;
vback-porch = ;
hsync-active = ;
vsync-active = ;
de-active = ;
pixelclk-active = ;
}; }
;
III. Modify gt9xx driver
1. tspi_android_sdkkerneldriversinput ouchscreengt9xxgt9xx.c
Find this function goodix_ts_probe
and modify the content as follows
else if (val == 911) { m89or101 = FALSE; bgt911 = TRUE; gtp_change_x2y = FALSE;//modify gtp_x_reverse = TRUE;//modify gtp_y_reverse = TRUE;//modify }
2. Touch configuration
in tspi_android_sdkkerneldriversinput ouchscreengt9xx目录下新建一个后缀为cfg的文件,如GT911_Config.cfg,在里面复制粘贴如下内容
0x42,0xD0,0x02,0x00,0x05,0x05,0x75,0x01,0x01,0x0F,0x24,0x0F,0x64,0x3C,0x03,0x05,0x00,0x00,0x00,0x02,0x00,0x00,0x00,0x16,0x19,0x1C,0x14,0x8C,0x0E,0x0E,0x24,0x00,0x31,0x0D,0x00,0x00,0x00,0 x83,0x33,0x1D,0x00,0x41,0x00,0x00,0x00,0x00,0x00,0x08,0x0A,0x0 0,0x2B,0x1C,0x3C,0x94,0xD5,0x03,0x08,0x00,0x00,0x04,0x93,0x1E, 0x00,0x82,0x23,0x00,0x74,0x29,0x00,0x69,0x2F,0x00,0x5F,0x37,0x 00,0x5F,0x20,0x40,0x60,0x00,0xF0,0x40,0x30,0x55,0x50,0x27,0x00 ,0x00,0x00,0x00,0x00,0x00,0x00,0x00,0x00,0x00,0x00,0x00,0x00, 0x00,0x00,0x00,0x00,0x00,0x00,0x00,0x14,0x19,0x00,0x00,0x50,0x 50,0x02,0x04,0x06,0x08,0x0A,0x0C,0x0E,0x10,0x12,0x14,0x16,0x18 ,0x1A,0x1C,0x00,0x00,0x00,0x00,0x00,0x00,0x00,0x00,0x00,0x00,0 x00,0x00,0x00,0x00,0x00,0x00,0x1D,0x1E,0x1F,0x20,0x21,0x22,0x2 4,0x26,0x28,0x29,0x2A,0x1C,0x18,0x16,0x14,0x13,0x12,0x10,0x0F, 0x0C,0x0A,0x08,0x06,0x04,0x02,0x00,0x00,0x00,0x00,0x00,0x00,0x 00,0x00,0x00,0x00,0x00,0x00,0x00,0x00,0x00,0x00,0x00,0x9C,0x01
3. tspi_android_sdkkerneldriversinput ouchscreengt9xxgt9xx_cfg.h
修改如下内容
/* CFG for GT911 */u8 gtp_dat_gt11[] = { /* */ //#include "WGJ89006B_GT911_Config_20140625_085816_0X43.cfg"//修改 #include "GT911_Config.cfg"//修改};
四、编译
1. 如果你是开发linux,在sdk目录下使用如下命令命令
./build.sh lunch
输入3,回车
export RK_ROOTFS_SYSTEM=debian //看你的是buildroot还是debian
./build.sh kernel
2.如果你是开发android,在sdk/kernel目录下执行
make ARCH=arm64 BOOT_IMG=../rockdev/Image-rk3566_tspi/boot.img tspi-rk3566-user-v10.img -j32
If that doesn't work, try the following:
make ARCH=arm64 tspi_defconfig rk356x_evb.config android-11.config make ARCH=arm64 tspi-rk3566-user-v10.img -j16
The Android SDK is too large, so I only compiled a kernel. Just download any image provided by the official website and replace the kernel.
3. Replacing the Kernel
[Android] System SDK Compilation - Feishu Cloud Documentation (feishu.cn)
V. Video
https://www.bilibili.com/video/BV19D421G7D5/?spm_id_from=333.999.list.card_archive.click
https://www.bilibili.com/video/BV1et421K7bZ/?spm_id_from=333.999.list.card_archive.click
Follow and like on Bilibili.


 京公网安备 11010802033920号

 QM10-32RL-SP


