Preface :
I bought a 140W PTC heating platform from Deer Fairy, but it lacks temperature display and adjustment functions. Luckily, I had a spare Uno and a 1.3-inch OLED screen that I mistakenly bought when making an electronic load, so I decided to use them.
Warning: This project involves 220V AC power. The creator must have some basic circuit knowledge. The author guarantees the safety of the circuit design but is not responsible for any safety issues arising during the creation and use of the circuit!
1. Software Function Introduction and Design Ideas : The software
is compiled using Arduino IDE. A rotary encoder adjusts the set temperature. Double-clicking the encoder's SW key saves the set temperature to the Uno's EEPROM. Holding down the SW key for 3 seconds starts heating. During heating, the third line of the screen displays "Heating," and there is no display when not heating. Initially, I wanted to use Arduino's library function PID control, but later found that it couldn't control the temperature because the PID period is 2ms, while the sinusoidal AC current period is 20ms. Considering that PTC temperature control doesn't require extreme precision, and given the non-linear characteristics of PTC heating, an approximation method was used. After bridge rectification, the zero-crossing signal is sampled every 10ms. After 10 samples (100ms), if the current temperature is 40 degrees lower than the set temperature, the PWM remains high.
The hardware
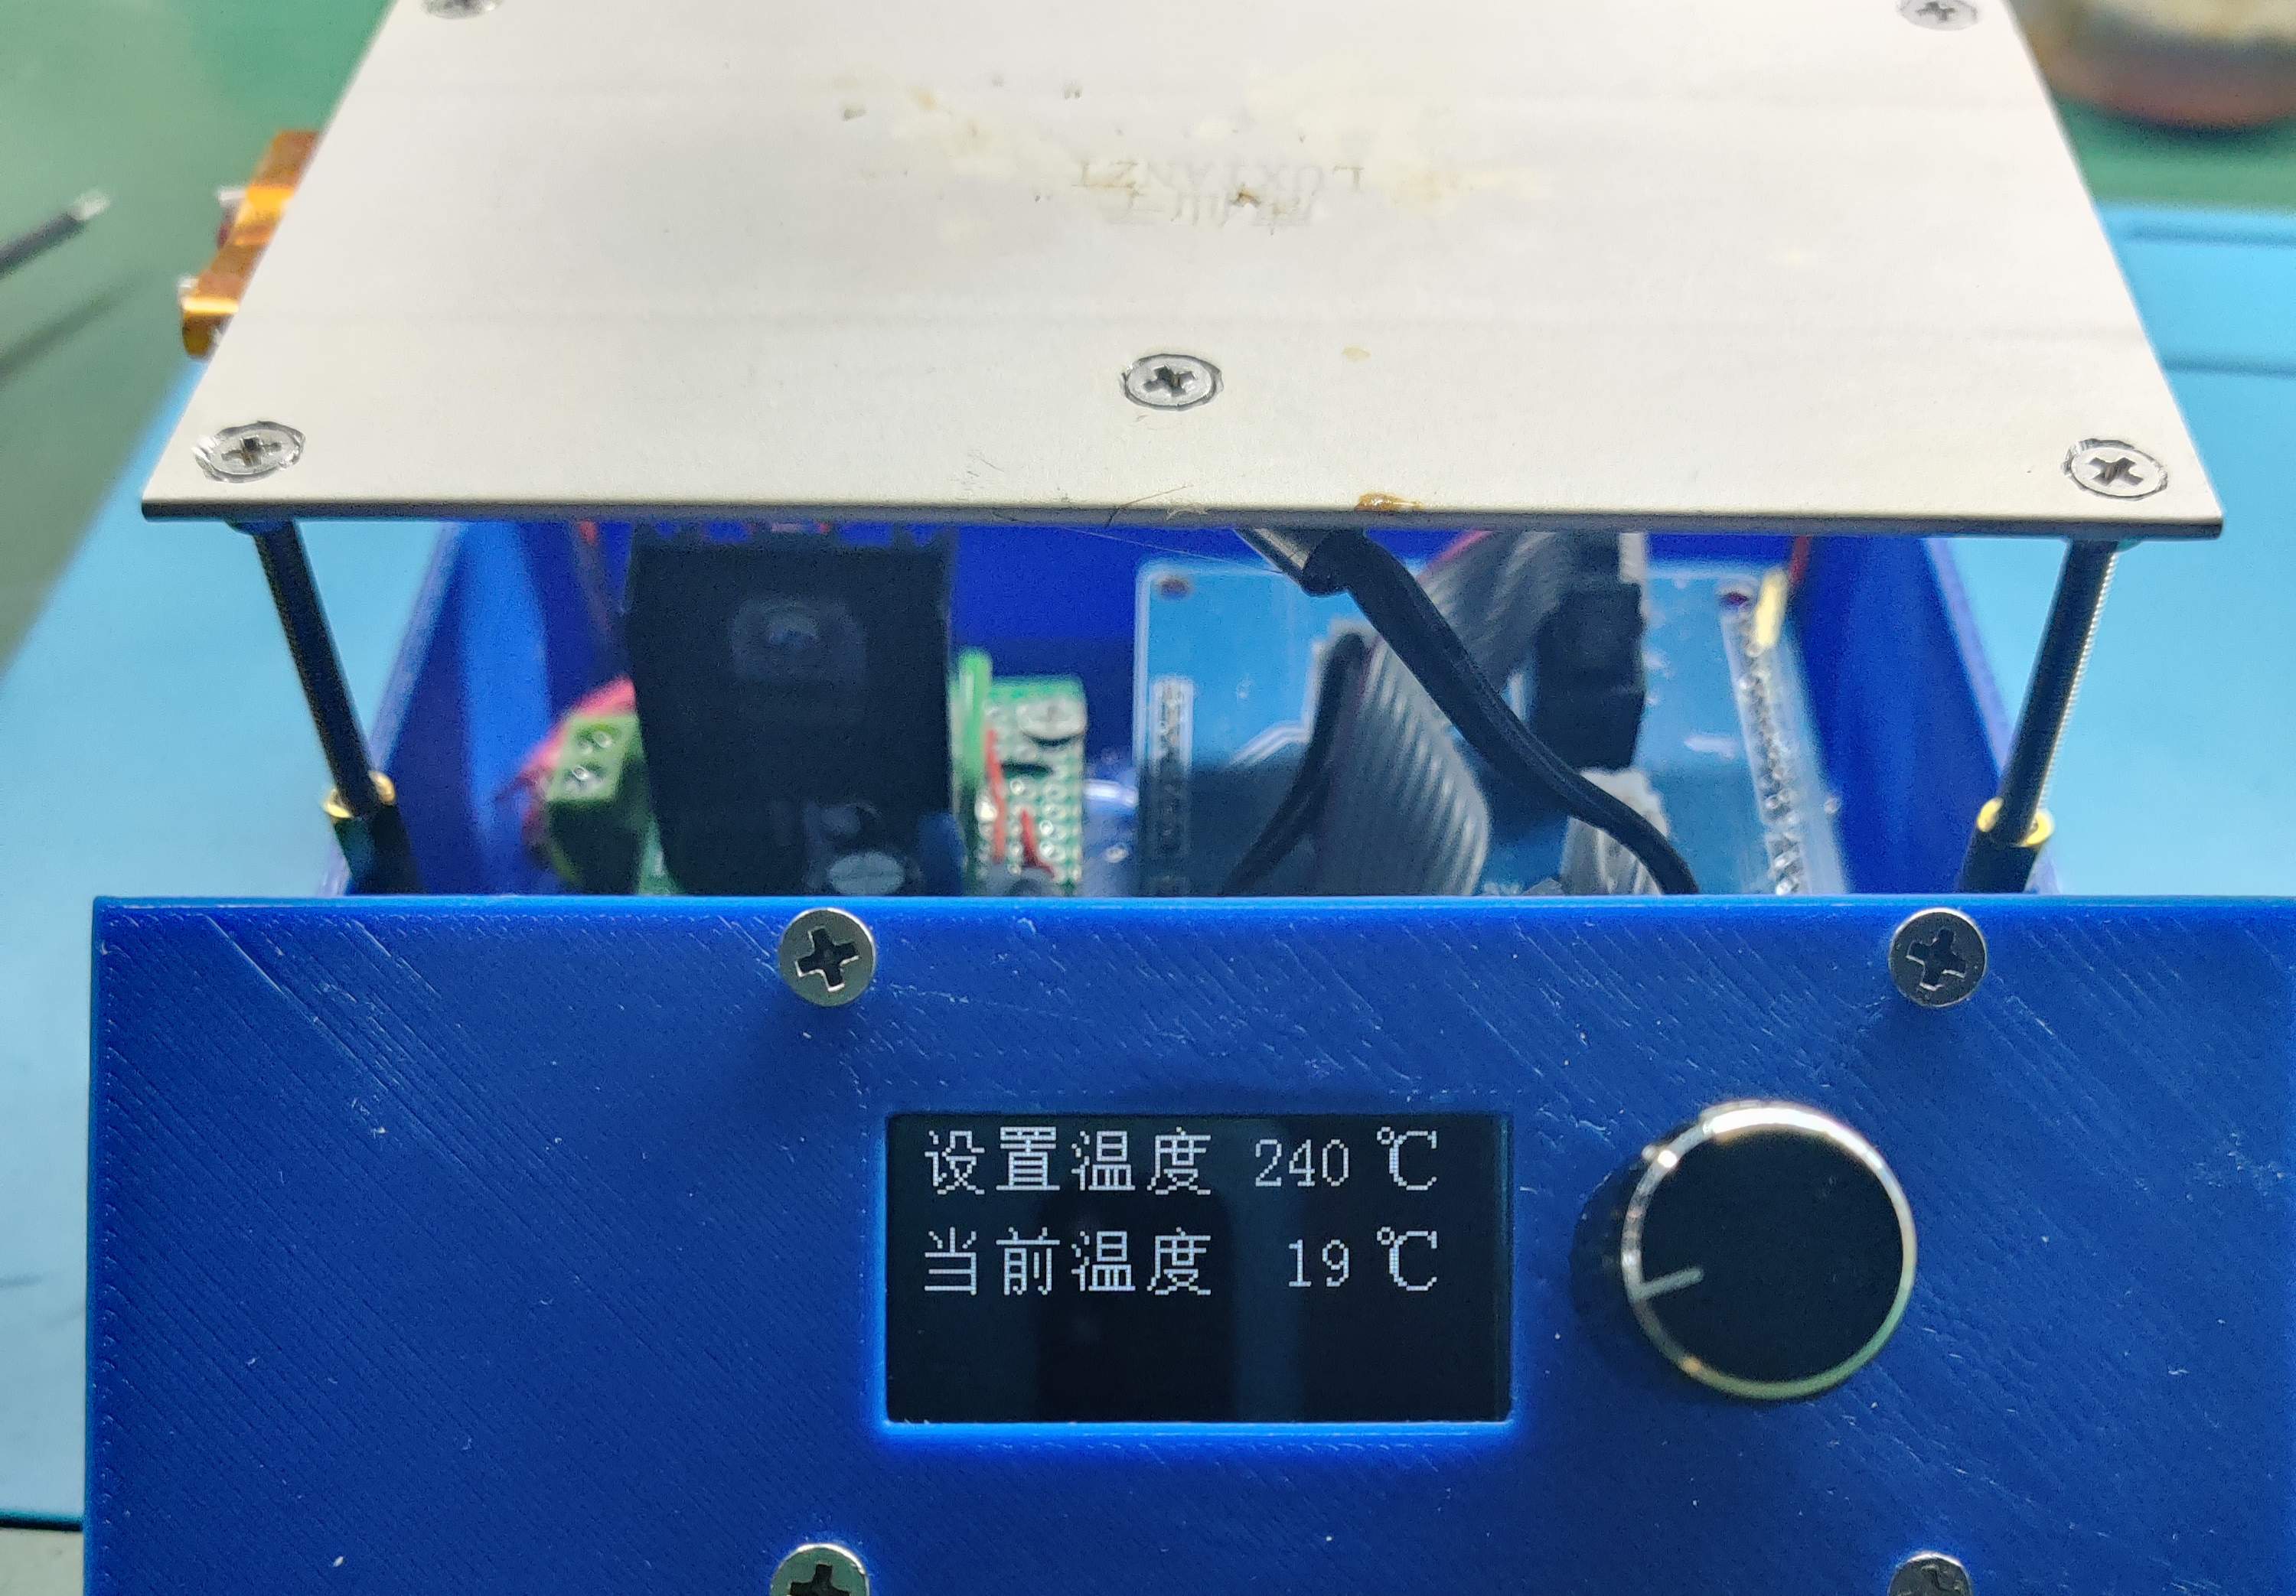
design considers the separation of strong and weak current circuits, and the PCB is designed as three boards: a zero-crossing detection and SCR control board, an encoder adjustment and OLED display board, and an UNO adapter board. The PCB design is very amateurish; I don't know how to lay copper on 220V lines, so areas near 220V lines are left unpainted. To save money, the three boards were drawn as a single board frame. It's said that JLCPCB charges for panelized boards if the slot length exceeds 75%, but during my board production, it was approved as a single board – a matter of luck.
Ignore the unconnected jumper wires. After cutting the board, connect them with cables.
3. Attachments
4. Some individual components are available via Taobao links
: 1. 3OLED https://item.taobao.com/item.htm?spm=a21n57.1.0.0.2790523cEgrK2L&id=37848651711&ns=1&abbucket=7#detail
The encoder module pin headers need to be removed and soldered in reverse. https://item.taobao.com/item.htm?spm=a1z09.2.0.0.288f2e8dAfPp8P&id=648231745636&_u=f2h4vops881c
Connector 2.54 Glue housing straight pin header https://item.taobao.com/item.htm?spm=a1z09.2.0.0.288f2e8dAfPp8P&id=526112254730&_u=f2h4vops1065
You can buy both the 2-pin and 4-pin cables from the same store. The FC-10P cable is 20cm long, and the DC3-10P cable is also available; search for both from the same store.
5. Assembly Precautions:
Don't throw away the PTC heating platform screws that come with the Deer Fairy product; they are heat-insulating and quite useful. After countersunk the original four holes on the PTC board, use 3x50mm screws to pass through and secure them with nuts. Then, fit the screws onto the PTC heating platform screws that come with the Deer Fairy product. It tested for 20 minutes without any problems; the 3D printed shell (PLA material) can withstand the load. Instructions are included in the attachment.


 京公网安备 11010802033920号

 KKA1519B1Q


