Project Overview:
This is a fully manual filament drying oven designed specifically for FDM-3D printers. It features PID constant temperature control, a 0.91-inch OLED temperature and humidity display, and hot air circulation for filament drying. The outer shell structure can be 3D printed using suitable materials. With simple program modifications, the temperature control board can also be used as a controller for incubators for chicken, duck, and goose eggs.
It uses an STM32F030F4P6 as the main control chip, combined with an Auson AHT30 temperature and humidity module and a PI heating film to achieve temperature and humidity control and reading.
Project Background
: I am an industrial control software engineer who enjoys tinkering. After discovering LCSC open-source hardware, I developed a passion for DIYing small electronic products and learning basic embedded software development, circuit design, and PCB layout.
After DIYing a desktop FDM 3D printer, I found that the print quality was truly appalling when the filament wasn't sufficiently dried. The common method of using rice containers and desiccants to dry filaments is only suitable for pre-drying and storage; without active drying, the print quality is indeed poor.
I found that the prices of ready-made drying ovens for consumables online were quite high, so I thought I'd DIY one. Initially, I considered buying a suitable temperature control board online and using it with a rice container, but after searching for a long time, I couldn't find one that satisfied me. So, I started by designing the circuit board myself and then used SolidWorks to create a 3D-printable outer shell.
Thus, this project was born.
Project Highlights:
1. Uses a 12V adapter for power, ensuring high safety.
2. Temperature control uses a PID algorithm for precise temperature control, minimal temperature fluctuations, and relatively low power consumption when maintaining the temperature.
3. Uses a PI polyimide heating film to heat the aluminum plate, providing a large contact area for even heating.
4. Uses a 5010 blower to achieve hot air circulation within the drying oven, resulting in more even heating of the consumables; the fan is PWM controlled, allowing for adjustable PWM percentage; the fan shuts off when the percentage is 0.
5. The drying oven is lined with insulation material to better retain heat.
6. The heating temperature is set to three commonly used levels (50°C/60°C/70°C), which facilitates quick temperature selection and prevents excessive temperature settings that could damage the drying oven's outer shell.
7. Heating time can be set; heating automatically stops after the set time.
8. LED indicators show heating and fan operation: red for heating and green for fan operation.
9. Simple structure, no external support required, easy to print, and convenient for DIY.
10. All software and hardware are open source.
Project Attributes
This project is being publicly released for the first time and is my original work. This project has not won any awards in other competitions.
Open Source License
CC BY-NC-SA 4.0
Initial Project Requirements
1. Display temperature and humidity by default.
2. Quickly set common target temperatures for drying consumables.
3. Use PID temperature control.
4. Set fan power.
5. Set heating time.
Development and Debugging Log
2024.8.15
1. Soldering completed, program burning completed, function verification completed.
2. Replace D2 with SS54 during soldering. A heating film with a maximum current of 5A can be used (AO3400-HXY maximum current 5.8A).
Solder the two heating films in parallel to the motherboard.
3. The original heating time determination logic: defined a variable that incremented every hour and was then compared with the target time. The working time setting interface always displayed the set working time and did not decrease with the working time.
This logic made it impossible to know how many hours of heating had been completed and how many hours remained. The time determination logic was modified to: decrement the target temperature every hour; this allows the working time setting interface to display the remaining working time.
4. Power-on debugging

2024.10.19
1. Increased the font size, changing the display font from 24 to 32. Firmware is attached as "TempCtrl font increase_241019_HEX_firmware", and source code is attached as "TempCtrlAmendFont_241019_source code".
2. Bilibili video link, welcome to watch:
https://www.bilibili.com/video/BV1qk1mYUEYN/?vd_source=8b66b1eaf0c77c8c037d39fa4966316d
Purchased materials:
PI heating film, screws, thermoforming nuts, copper studs, fan, 608Z bearing, power adapter. The BOM (Bill of Materials) is attached.
Aluminum sheet metal parts
: Outsourcing the custom-made aluminum sheet according to drawings is expensive. You can buy a finished product of similar size and cut it yourself.
For example, I bought a 300x200x1mm 1060 model on Taobao; one piece only cost two or three yuan. Once home, you can cut, drill, and bend it according to the drawings.
Welding precautions:
1. Pay attention to the direction of SS54 and SS34. Do not weld them incorrectly, otherwise, components may burn out when powered on. For example, if D1 and D2 are reversed, it will burn out the AO3300-HXY.
2. The exposed solder areas on the back of the board need to be soldered to increase current carrying capacity; otherwise, the board may burn out.

Operating Instructions
: 1. PCB Introduction

2. After power-on, during program initialization, the fan and heating indicator lights will illuminate simultaneously; they will turn off simultaneously upon completion of initialization.
3. After initialization, press the menu button to select the function
. Temperature Selection: Press the menu button once to enter the target temperature selection interface. The default is 50 degrees Celsius. Press the increase button once to switch to 60 degrees Celsius, and press the increase button twice to switch to 70 degrees Celsius. The maximum temperature is 70 degrees Celsius. Press the decrease button to reverse the temperature range, with a minimum temperature of 50 degrees Celsius.
Fan Power: Press the menu button again to enter the fan power setting interface. The default is 100%. Use the increase and decrease buttons to adjust the power in 10% increments. Maximum power is 100%, minimum power is 0%. At 0%, the fan output is off.
Heating Duration Setting: Press the menu button again to enter the heating duration setting interface. The default is 0 hours. At 0 hours, both heating and the fan stop working. Use the increase and decrease buttons to adjust the duration in 1-hour increments, with a maximum of 72 hours and a minimum of 0 hours.
Normal operation: Press the menu button once more to enter the default display interface, which displays the current temperature and humidity values and starts working (if the heating time is not 0).
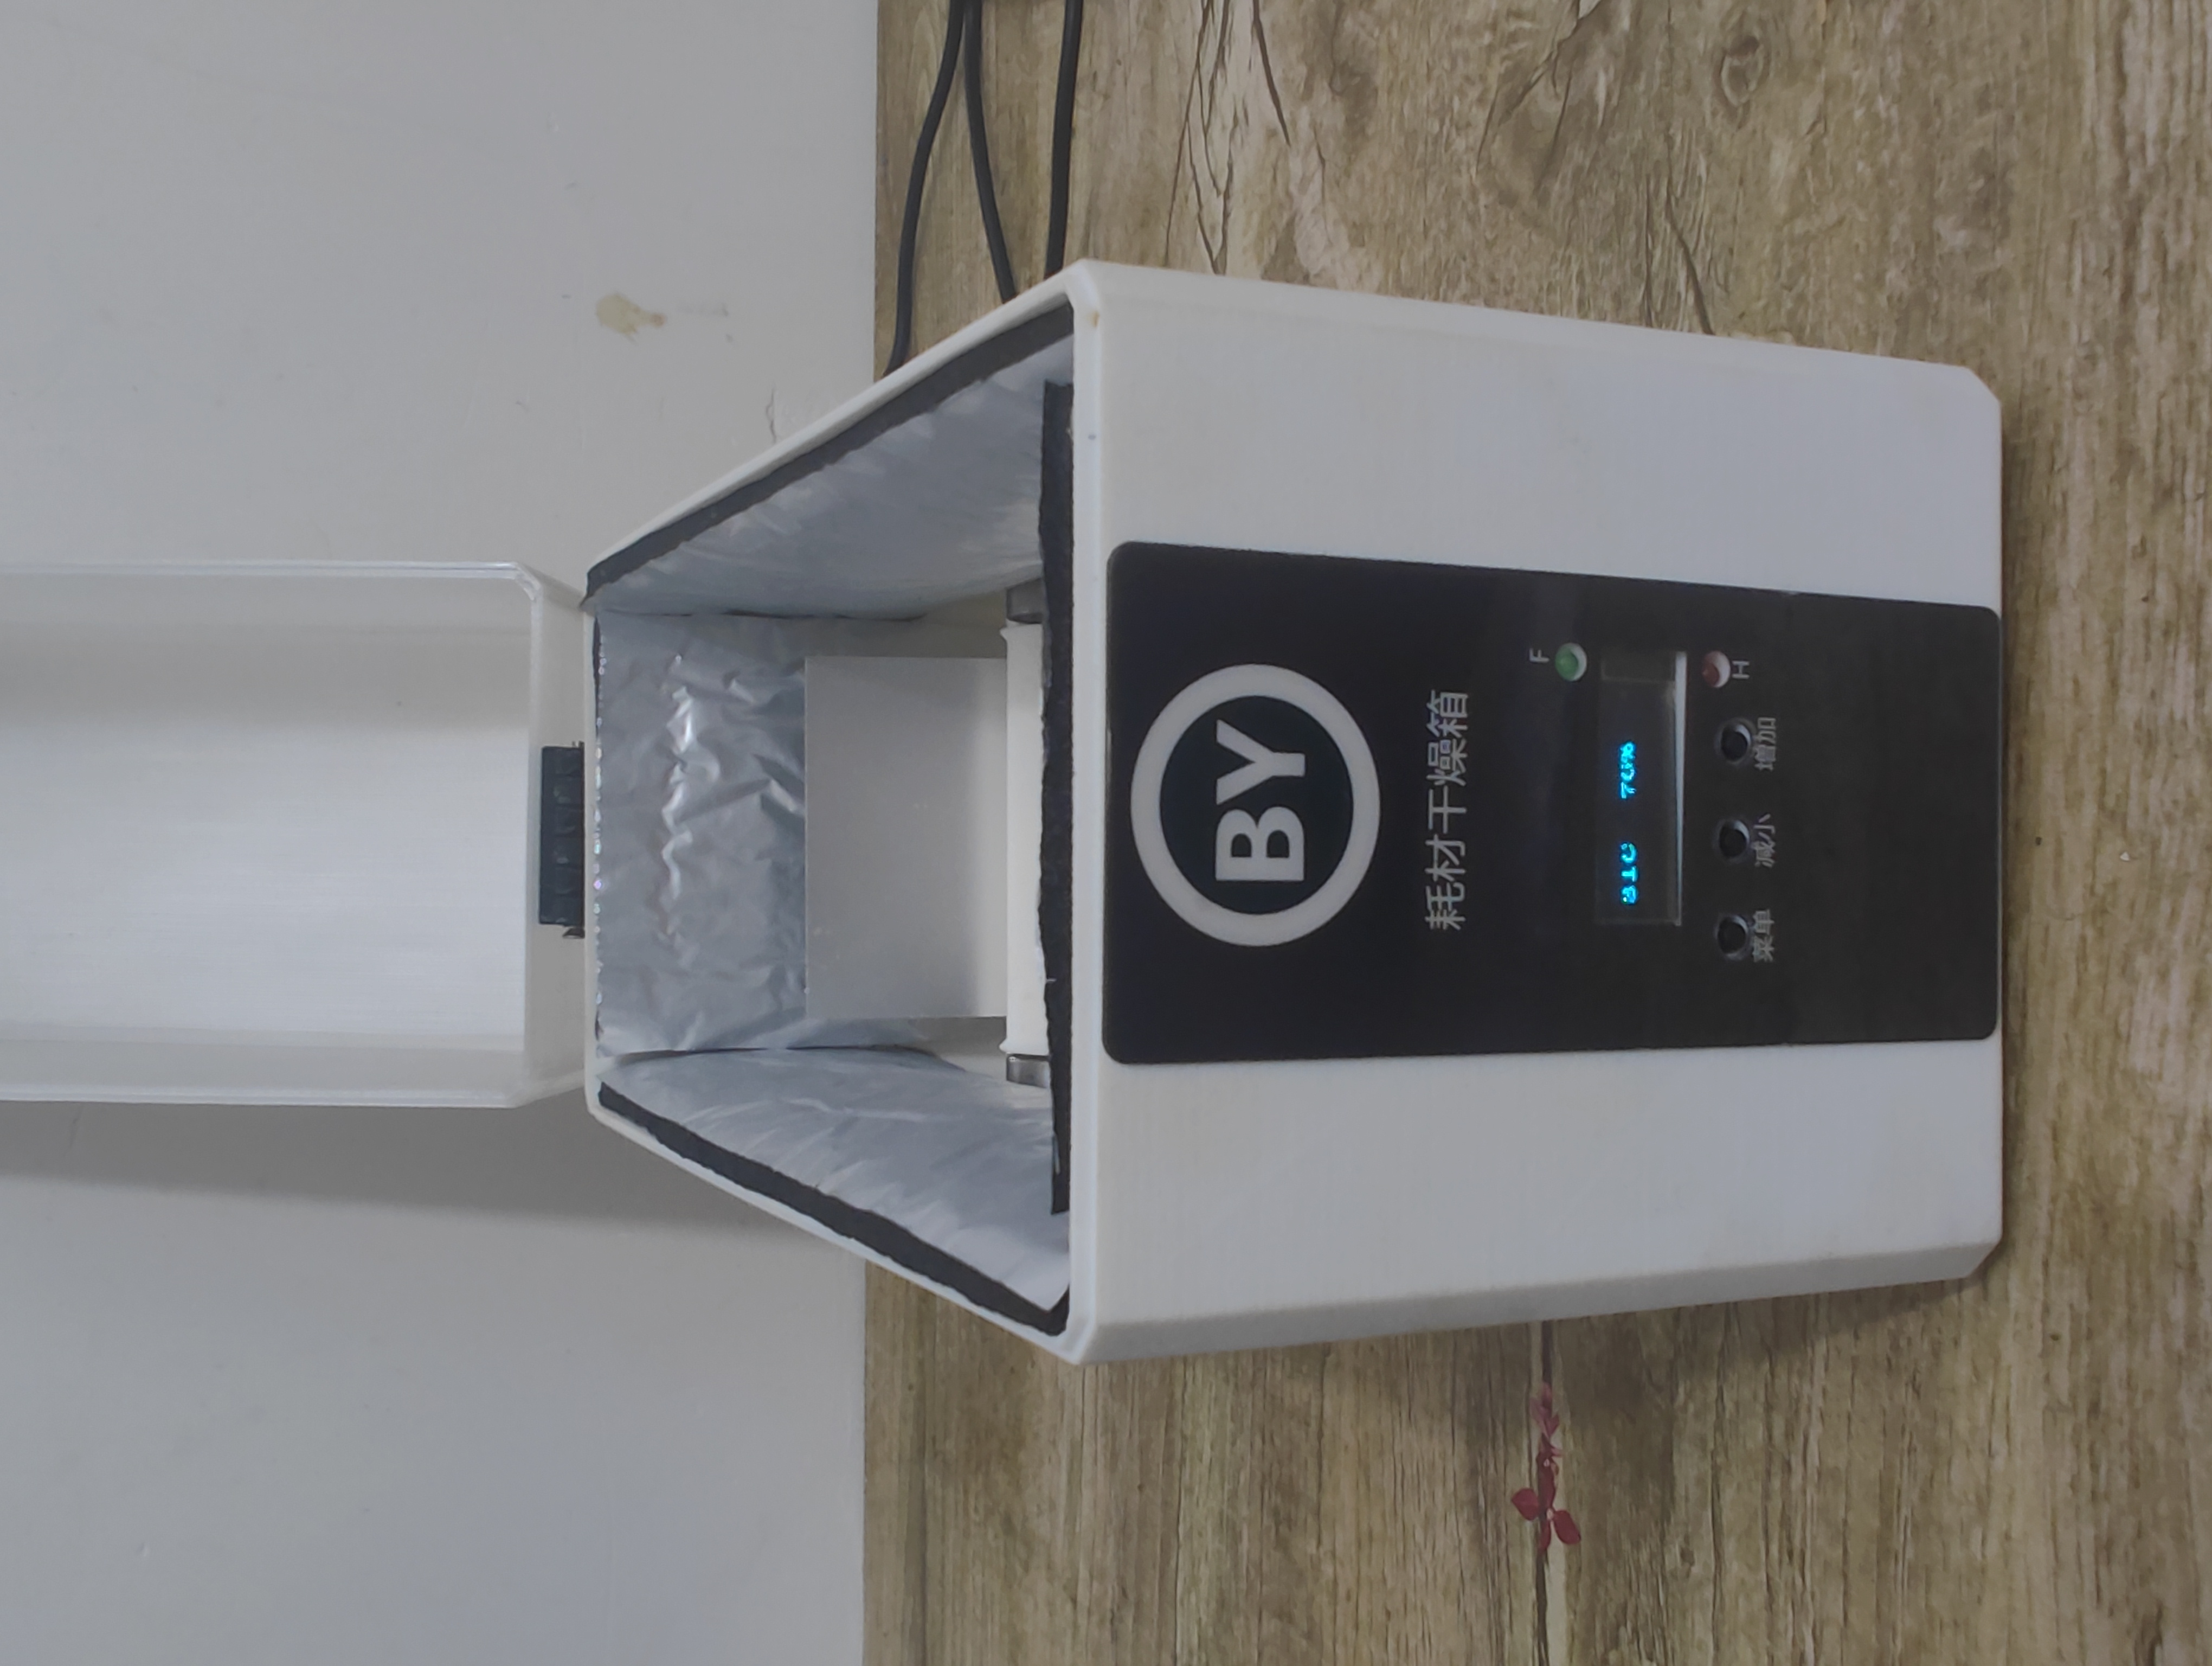
Actual product display:
1. Bottom shell

2. Top shell

3. Heating film installation


4. Bottom shell assembly complete


5. Insulation cotton pasting

6. Front panel pasting

7. Foot pad pasting.
I chose relatively thin foot pads, and pasted two on each foot. You can choose suitable foot pads according to your preference.

8. Heating in progress

9. After reaching the target temperature, the heating power will decrease or turn off, and the heating indicator light (red) will turn off. When the temperature drops and heating resumes, the red light will light up again.

10. Other images show the back view
when powered on and without parameters set. 11. The panel can also be printed by yourself. There is also an EDA acrylic version available. You can order from LCSC Panel. LCSC Panel Design Effects 3D Printed Panel with Text 3D Printed Panel without Text QQ Group for communication : 698205066. See the attached "Demonstration Video.mp4" and "Complete Setup Video.mp4" for demonstration operation .


 京公网安备 11010802033920号

 8-1676956-6


