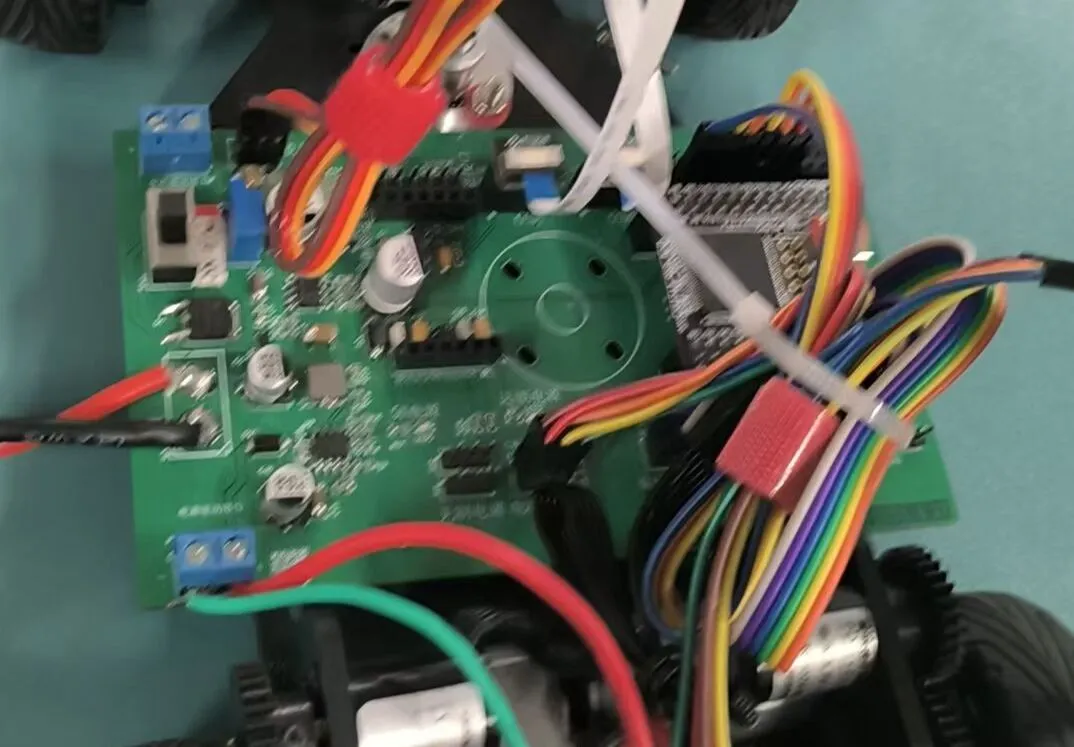
The motherboard has one power connector, one DIP switch, two motor drive power connectors, one servo connector, one op-amp module connector (4-channel op-amp), two brushless ESC connectors, one brushed motor drive connector, two encoder connectors, one screen connector, one wireless serial port connector, four independent buttons, two CCD module connectors, one ToF module connector, one attitude sensor module connector, and one magnet sensor module connector. Battery power connector
: Supply voltage range 7.2V-26V DC; Power switch: When the motherboard is powered by battery, this switch is the overall power switch for the motherboard. Motor drive power connector: This connector provides power to the motor drive. It is controlled by the switch and the output voltage is the same as the battery voltage.
Servo power supply voltage regulator: By rotating the adjustment knob of this potentiometer, the supply voltage of the servo connector can be adjusted. Servo connector: Connecting the servo connector to this connector allows for program-based control of servo rotation, and the servo supply voltage is adjustable. Servo Power Indicator: This indicator light is for the servo motor power supply. It will remain lit when the servo motor is powered normally.
Brushless Motor Drive Interface: Each brushless motor drive interface is multiplexed with both the encoder and brushed motor, outputting two PWM signals for speed acquisition. It can be used with a brushless motor drive module (can be used simultaneously with the brushed motor interface without conflict).
Brushed Motor Drive Interface: Each motor drive interface can output four PWM signals. It can be used with our motor drive module to control the forward and reverse rotation and speed of two motors. One motor drive signal interface can control the forward and reverse rotation and speed of two motors.
Encoder Interface: Can be directly connected to a mini encoder for speed measurement and other functions.
Electromagnetic Head Interface: Can be connected to an inductor-capacitor mounting plate. After soldering the inductor and capacitor pairs, it can receive the electromagnetic field signals generated by the track's electromagnetic wires.
Electromagnetic Module Interface: Adapted to RS824 op-amp modules, 4-channel op-amp modules.
Op-amp Power Indicator: Powered by an independent 3.3V LDO. This indicator light will illuminate when the LDO is working normally. Controlled by the CR pin of the core board. Screen Interface: Compatible with 2.0-inch IPS serial port screen.
Magnet Induction Module Interface: Can connect to a Hall effect sensor module for starting line detection and other functions. Core Board Interface: Connects to the Zhufei Technology RT1021 MicroPython core board.
Serial/Wireless Module Interface: Can connect to a wireless-to-serial converter module for wireless communication. DIP Switches and Buttons: Connect to the microcontroller 10 and can be controlled by the user program; TOF Module Interface: Can connect to a ToF ranging module for ranging and other functions. Top-mounted CCD Module Interface: Can connect to a Redboy linear CCD module for sensor functionality. Attitude Sensor Interface: Can connect to an IMU963RA nine-axis attitude sensor module or an IMU660RA six-axis attitude sensor module. 5V Power Indicator: Uses a DC-DC step-down circuit to power the motherboard core board and 5V peripherals; this light illuminates when the circuit is working properly. Module 5V Power Supply Indicator: Controlled by the CR pin of the core board; this light illuminates when the 5V power supply and core board are properly connected. 3.3V Power Indicator: Power is supplied to 3.3V peripherals via an independent 3.3V LDO. This indicator light will illuminate when the LDO is functioning normally. It is controlled by the CR pin on the core board.


 京公网安备 11010802033920号

 GRM0225C1H8R3WA03


